How to
Carve a Pumpkin

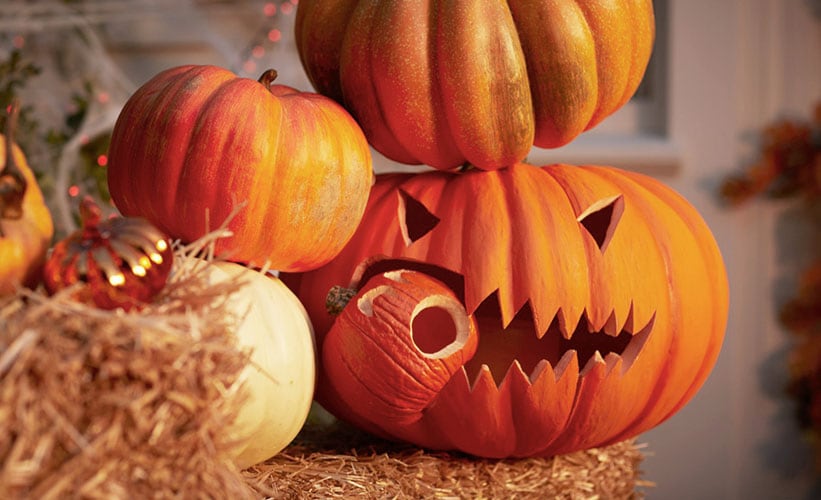
Traditional Halloween decor is not complete without a carved pumpkin. What better way is there to express some autumnal creativity? A carved pumpkin can be scary, funny or simply decorative. No matter which way you cut it, a pumpkin is a perfect way to invite the spirit of the Halloween season into your home. Follow these pumpkin carving tips from us at Pottery Barn to light up your front porch and greet trick-or-treaters this fall.
Choose a Pumpkin
When you're selecting a pumpkin to carve, look for one that is free of nicks, has a sturdy stem and a consistent color all over. Knock on the pumpkin and listen for a hollow sound – that means it's ripe. Select a size that best fits your design idea. If you're planning an intricate design, a larger pumpkin will be easier to work with. If your kids are carving traditional jack-o-lanterns, small to medium pumpkins are sized just right for them to decorate.
Plan the Pumpkin's Design
While you can draw your pumpkin carving ideas directly on the pumpkin, it’s sometimes helpful to draft a design on paper first. This allows you to make changes to the design and create your own stencil to boot. Premade carving stencils can make the process even easier, especially if you want to incorporate some traditional Halloween motifs - like cats, ghosts or a witch or two. After you've chosen a design, figure out which tools you need. Pumpkin-carving kits come with small serrated knives in various sizes to carve out all types of shapes and designs.
Hollow Out the Pumpkin
Draw a circle around the top of your pumpkin's stem using a marker. Pierce the pumpkin on the line and use a knife to cut all the way around. Remove the top and scrape the seeds and pulp into a bowl. Use a spoon (or your hand) to scoop out the rest of the seeds. You can throw away the seeds, or you can roast them for a tasty, nutritious snack. Simply separate the seeds from any remaining pumpkin gunk and give them a rinse. Coat them with a bit of olive oil and salt, then spread the seeds onto a baking sheet. Toast them for 25 minutes at 400 degrees Fahrenheit. Allow the pumpkin seeds to cool, and then snack away!
Carve the Design
Trace your patterns directly onto the pumpkin or use tape to secure the stencil directly to the surface. Use the appropriate sized tools to carve your carefully selected design. Cut out the negative space, or the space that you want the light to shine through. Work slowly and make sure to go all the way through the pumpkin to avoid damaging any delicate shapes.
Light Up Your Pumpkin
The traditional way to light a carved pumpkin is with a tea light candle. You can do this if your pumpkin has a flat bottom. Be sure to keep candles away from flammable materials - like hay bales and leaves. To avoid open flames all together, opt for flickering LED candles, string lights or even glow sticks. We hope these easy pumpkin carving tips will help you get into the Halloween spirit! Pick up a few pumpkins at your local pumpkin patch and get carving!


